Hey, this is Tom. I haven’t had as much time for hobbies as I’ve wanted lately, but our local game store was having a Steamroller tournament, and I was able to make time to play last weekend.
While I was on travel for work, the new United Kriels army released in the Warmachine App. I had plenty of time to digest the new rules on the warlocks and think up a couple of lists while flying cross-country. Overall, I’m pretty happy with the United Kriels, and I’ll go into a deep dive when I’m able, but I came up with a Madrak and a Gunnbjorn list that I would take to the game.
Let’s look at my Gunnbjorn list first, and quickly explain why I didn’t play him at all this go-around.
Gunnbjorn at 75 points
I know this isn’t a completely optimized list. I really enjoy the war wagons (or I did in Mk3), and wanted to put them on the table. There weren’t enough points at 75 to spare for both wagons, especially since Gunnbjorn doesn’t really help them much (Snipe, maybe), and the army doesn’t really build around them like in the old days. I miss having someone around to repair the wagons, the old “Hoof It!” trick with Grissel when that was a thing, and the little gobber with Tune-Up at the end of Mk3 (was it Tubbin?). I also really abused the light warbeast animi when they were able to be cast on other models – the pyre troll to buff melee damage when facing shield walls, and the storm troll’s electrical fists for doing e-leaps on impact attacks and charge attacks was just silly. That is all to say that I only brought one in the list last weekend, and I ended up not playing it because I didn’t feel like gunnbjorn’s list had enough firepower to deal with the armies I faced. It only had two heavies, and really topped out at POW 17 for the wagon’s main gun and Dozer’s claws with the Mauler’s buff, and 18 for the Mauler.
- Demoted, but still blasting away
- Trollbloods – United KrielsPitched Battle – 75 pts
- PC CARD
- Captain Gunnbjorn
- 14 Dire Troll Mauler
- 15 Dozer & Smigg
- 15 War Wagon
- 6 Ledfoot & Tredz
- 5 Pyg Tank 1
- 5 Pyg Tank 2
- 1 Troll Whelps 1
- 1 Troll Whelps 2
- 3 Trollkin Gunnery Sergeant
- 5 Krielstone Bearer & Stone Scribes
- 5 Pummeler Crew
- PC COMMAND CARD
- Blessing of the Gods
- Break Through
- Hit & Run
- Power Swell
- Put the Fires Out
- TOTAL POINTS 75/75
Madrak at 75 points
- Can’t keep a good Madrak down
- Trollbloods – United Kriels
- Pitched Battle – 75 pts
- PC CARD
- Madrak, Great Chieftain
- 12 Dire Troll Blitzer
- 8 Pyre Troll
- 9 Storm Troll
- 7 Troll Axer
- 8 Troll Bouncer
- 4 Fennblade Kithkar 1
- 4 Fennblade Kithkar 2
- 3 Trollkin Runebearer
- 7 Trollkin Fennblades 1
- 3 Trollkin Fennblade Officer & Drummer 1
- 7 Trollkin Fennblades 2
- 3 Trollkin Fennblade Officer & Drummer 2
- PC COMMAND CARD
- Break Through
- Careful Reconnaissance
- Hit & Run
- Power Swell
- Put the Fires Out
- TOTAL POINTS 75/75
Madrak’s concept is simple. Let the fennblades do work with some buffs, and try to keep Madrak alive long enough to win by attrition. There are debates on how to build his list in the best way possible, and I’m told the Kithkar should be removed in favor of scouts, but I feel like the scouts should be part of a larger package. Moving to 100 points, I might drop the storm troll, and add in a Mauler, Krielstone with Elder, a unit of Scattergunners with the attachment and a unit of Scouts. It’s the synergies that I’m looking for here, and the Scattergunners and Scouts complement each other. However, it’s also likely that I’m leaning into the untis a little much, and need to work the beasts a little harder. Madrak has Soothing Song, after all, and that is really helpful.
So how did I do, in my three games with Madrak?
Game 1 – Khador Armored Korps
I played a gentleman from Phoenix first, and he brought Irusk with a bunch of warjacks, and Sorscha in his two lists.
Irusk
- 10 Juggernaut
- 10 Juggernaut
- 9 Marauder
- 11 MOW Siege Chariot
- 3 Greylord Forge Seer
- 4 MOW Kovnik
- 2 Battle Mechaniks
- 2 Officer
- 9 MOW Bombardiers
- 8 MOW Shock Troopers
- 3 Officer
Sorscha
- Beast 09
- Juggernaut
- Marauder
- Greylord Forge Seer
- MOW Drakhon
- MOW Kovnik
- 2 Battle Mechaniks
- 2 Officer
- 9 MOW Bombardiers
- 8 MOW Shock Troopers
- 3 Officer
Looking at the three heavies in each list and a Siege Chariot in one, and one of these being a Marauder that could theoretically threat really far… I shelved Gunnbjorn and played Madrak. I just didn’t know how to deal with two units of high armor and high hitbox dudes AND three heavies. These kind of lists always have me looking back at my own, wondering if I can create something so beefy. I could in Mk3, under Ragnor, and it was awesome. I will miss that army.
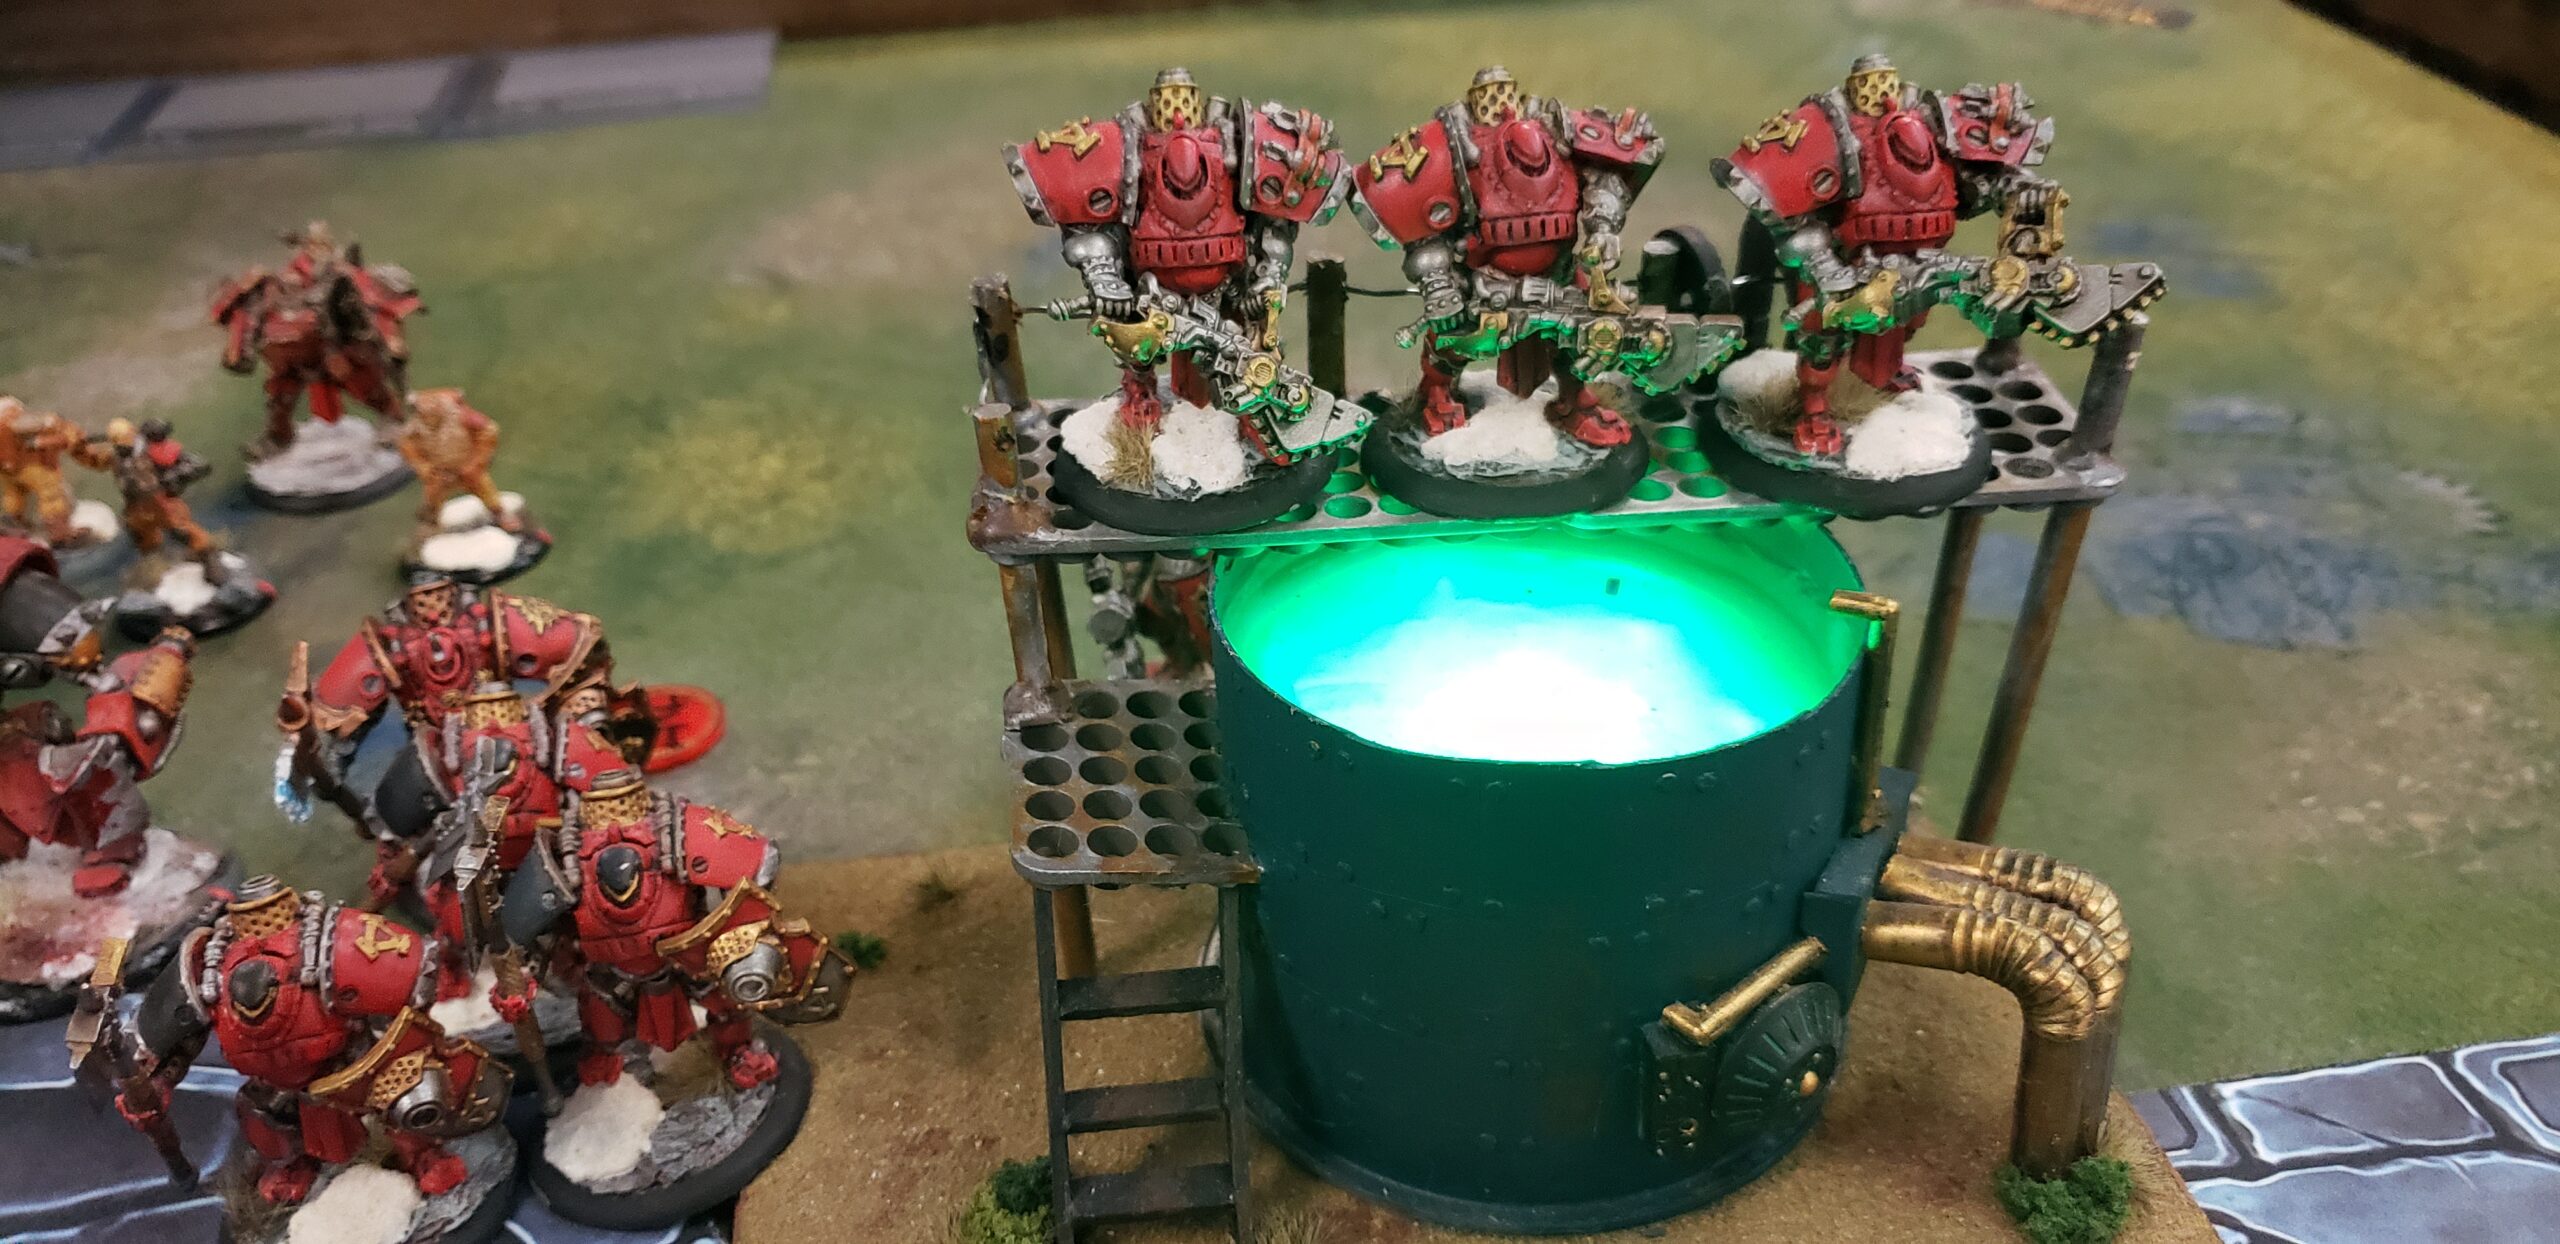
Our layout had three Crucible Guard chemical vats with gantries, a hill, and some clouds way out on the outside. I went first, and he chose sides. The vats block LOS, and the gantries may be occupied by medium or smaller models. There are some ladders attached for ingress, and a sculpted ladder on the one on the right. The center one didn’t have a second ladder, so would be a really good position for some annoying guns. The hill is a typical hill, made from foam with vinyl grass, and slightly sloped.
My plan was to rush the right side of my board, letting Fennblades get stomped or bombed and then push up the middle.

My opponent lived the dream for a moment, and placed three bombardiers on top of one of the gantries (it had a ladder on the opposite side). Irusk advanced boldly onto a hill, and there was an open charge lane between the Fennblades and the warcaster.

I think this positioning error was caused by the confusion over the rules changes concerning sacrificing movement, moving through melee ranges, and whether or not the pikes from the MOW troopers would stop the charge. Also, there was an underestimation of my threat – as he didn’t ask during his turn. They only threat 6+3+2 = 11 inches on the charge, which is not great. And I have no way to get them moving faster. This is a weakness in the Kriel army that wasn’t a problem in Mk3, because Madrak played so well in Storm of the North (where the Krielstone provided a speed bonus, and Raiders had Advanced Deployment anyway).
I didn’t get a good picture of my next turn, but Positive Charge went on the Blitzer (thank you, Runebearer). Rush went on the Blitzer (thank you, Axer). The Blitzer ran through the rough terrain provided by Irusk, and just glared at the guy a few inches back. The red unit of Fennblades charged in with no loss to speed thanks to the Drummer’s Pathfinder, and placed around the warcaster. They were hitting at MAT 7+2 (Positive Charge) + 2 (Gang) = 11, with a POW 12 + 2 (Positive Charge) + 2 (Gang) = 16. With no focus, Irusk was forced to take each strike, and died quickly.
We chatted for a moment, and I asked if we could reset to see what would happen if things played out differently. My gracious opponent agreed, and he moved Irusk back, so my fenns couldn’t get in, and we started working on his units instead. A Bouncer took to the rectangle on the right, slamming out a Kovnik, and a shot from the Pyre Troll managed to take down a MOW Bombardier. The Kithkar nearby trudged up the gantry and finished off the other two MOW.

His chariot knocked back my Blitzer, but it was Madrak’s feat turn, so no fenns were harmed in the process. I threw an axer away to the Chariot, trying to contest, but it was futile. After a couple of turns, he had removed most of my army, and I had no way to really break through the tanky dudes. This game wasn’t going to be a good one. Khador Armored Korps (and I don’t know about their new army) is a gear check. Either you can break armor and take hits, or not.

Game 2 – Madrak vs Cryx
I probably could have run Gunnbjorn here, but old reflexes from early Mk3 make me reach for Madrak, who I’d ran against Ghost Fleet very successfully when Ghost Fleet was all that. Magic/Blessed weapons will do it.
Death on Dark Wings
Cryx – Dark Host
Pitched Battle – 75 pts
PC CARD
- Deneghra, the Soul Weaver
- 4 Deathripper
- 12 Desecrator
- 14 Nightmare
- 11 Reaper
- 11 Wraith Engine
- 1 Necrotech 1
- 1 Necrotech 2
- 1 Necrotech 3
- 1 Soul Trapper
- 7 Bane Warriors 1
- 4 Bane Warrior Officer & Standard
- 7 Bane Warriors 2
- PC COMMAND CARD
- Blessing of the Gods
- Break Through
- Hit & Run
- Old Faithful
- 1 Sentry Duty
TOTAL POINTS 75/75
Doom Set in Motion!
Cryx – Dark Host
Pitched Battle – 75 pts
PC CARD
- Lord Exhumator Scaverous
- 14 Erebus
- 6 Nightwretch
- 5 Bane Lord Tartarus
- 7 Darragh Wrathe
- 2 Machine Wraith
- 9 Bane Riders 1
- 9 Bane Riders 2
- 7 Bane Warriors 1
- 4 Bane Warrior Officer & Standard 1
- 7 Bane Warriors 2
- 4 Bane Warrior Officer & Standard 2
- PC COMMAND CARD
- Blessing of the Gods
- Break Through
- Hit & Run
- Infiltration
- 1 Savagery
TOTAL POINTS 75/75
This battlefield was sparce. A tower in the middle of the field was the only thing providing any kind of cover or line of sight blocking. As I went second this game, losing the initiative, I chose the side closest to the tower. The Cryx had a number of ghostly models, so they would be able to move through the tower as they wished, but getting a line in on a model for the charge, or having enough speed to walk through and make attacks is something I thought I could exploit.
Turn 1
Cryx ran in, flanking the trolls with Riders and warjacks, basically focusing on the army toward the center while threatening to swarm on the tower and take a flag.
On my first turn, I ran all the Fennblades forward, using Madrak’s tactician and the new placement rules to interlace them and make it difficult to avoid damaging both units and to avoid receiving a retaliatory charge attack. Warbeasts hugged the tower and powered through the units, blocking landing zones. Madrak feated, hoping to have some Fennblades survive, and maybe score a line of sight to Scaverous.

Turn 2
The Bane Riders charged forward, and enough Fennblades managed to survive to pose a threat to Scaverous’s army. The warriors charged in next, this time with Savagery, denying the blue unit any hope of survival. Only the officer and a grunt survived, lucky. The other group of warriors swarmed the other side of the tower, peeking out and even through the other side of the tower, in the trollblood-occupied zone.
This is where the army started to shine. While they were forced to take it on the chin, Vengeance allowed for the models to move around and reorganize for a push back. The kithkar pulled their weight here, managing to remove a Bane Rider, freeing up the blue officer and grunt to move and attack. The Storm Troll and Pyre Troll terminated some warriors, the red Fennblades were free to charge the Riders while remaining mostly in the Positive Charge aura placed on the Storm Troll. Both Bane Rider units, Tartarus, and the warriors who attacked their brethren were wiped out. Unfortunately, I couldn’t get enough movement to engage Scaverous, but it wasn’t a bad play. Blitzer managed to down a few warriors who entered into the zone, clearing it, and Madrak faced down the rest of the unit, killing all but one warrior due to a few lucky tough checks. Had the blitzer gotten lucky and been able to make more gunshots, things would have turned out differently.

Turn 3
The arcnode ran forward, near enough to throw spells into Madrak. Scaverous moved up, and slew a couple of Fennblades, taking their souls. He feated, cast Feast of Worms to bring Madrak down to 19, then Excarnate over and over again. At dice off 6, it was still enough to get Madrak down to just a few boxes. The last Bane Warrior charged, and its Weapon Master POW 11 war axe plus Dark Shroud (lame) managed to do Madrak in at four dice off 6. Madrak failed his tough check, so that was the end of the game.

On the topic of warriors, I always thought it was pretty good for Cryx, being able to stack Dark Shroud with an armor de-buff, for a four-point damage swing. With a weapon master, it’s pretty amazing. The Bane Knights are most similar to the Fennblades, with the same reach and a POW 16 with caster help. Fennblades did pretty good in M4, but I sure wish they had weapon master on their blades… especially since there aren’t Champions in the army. It’s fine, it’s just that we top off at an effective POW 16, and there’s dudes that get to POW 15 with a variable d6. Again, it’s okay. I’m just a little salty that Champions and Warders didn’t get through to United Kriels, or our Runeshapers… man I’d like some Runeshapers.
Anyway, this was a great game, even though I got hosed by a flawless spell assassination after nearly wiping out a whole army and having enough time on the clock for another go!


Game 3, Madrak vs Dwarves
Another fairly open battlefield, and an army that I had no clue what it did. My previous experience with dwarves made me believe guns wouldn’t help. The battle engine with stagger used to wreck my world in early Mk3, and I had no idea whether this army would do the same.
GnarMercenaries – Rhul Guard
Pitched Battle – 75 pts
PC CARD
- Gorten Grundback
- 13 Ghordson Avalancher
- 9 Ghordson Basher
- 10 Ghordson Driller
- 12 Wroughthammer Rockram 1
- 12 Wroughthammer Rockram 2
- 5 Gudrun the Wanderer
- 4 Stone Lord Guvul Godor
- 2 Thor Steinhammer
- 4 Tactical Arcanist Corps 1
- 4 Tactical Arcanist Corps 2
- PC COMMAND CARD
- Break Through
- Careful Reconnaissance
- Old Faithful
- Power Swell
- True Inspiration
TOTAL POINTS 75/75
Hammerman Mercenaries – Rhul Guard
Pitched Battle – 75 pts
PC CARD
- Durgen Madhammer
- 13 Ghordson Avalancher
- 9 Ghordson Basher
- 12 Wroughthammer Rockram
- 15 Hammerfall Siege Crawler
- 4 Stone Lord Guvul Godor
- 2 Thor Steinhammer
- 5 Herne & Jonne
- 7 Horgenhold Forge Guard
- 4 Tactical Arcanist Corps 1
- 4 Tactical Arcanist Corps 2
- PC COMMAND CARD
- Break Through
- Careful Reconnaissance
- Old Faithful
- Power Swell
- True Inspiration
- TOTAL POINTS 75/75
I went first, but held back, because there wasn’t a way to get to his guys. I think this was my mistake. I overestimated the amount of damage he would do. I spread out when I should have clustered like in the last game. I should have run in and feated, then charged on my second turn. Oh well, live and learn.

I wasted way too much time trying to figure out what would happen. I knew he’d use his avalanche feat to push me one way or another, and he could actually split my army if he wanted. I considered placing a group of fennblades further back, or outside the zone to the right to make it more difficult to hit them, but I decided to have them screen for Madrak. Also, probably a mistake. Anyway, the fennblades and the Storm Troll took out one of his jacks up the middle.

The dwarf feated, pushing my army to the side, but leaving Madrak free to charge. This was about all the work he was able to do, not really killing anything in the process, and the points he picked up were mine to give. He did kill a Kithkar and a couple guys, triggering Vengeance.

Now, I should have let him have his timewalk. I got a little panicky looking at the clock, and decided to try for an assassination run. Vengeance forward, ran a troll light near the caster, positive charge, charge with Madrak, walked the fennblades and made tons of attacks, only taking him down by half. Turns out ARM 21 with a good focus camp is able to survive. It was possible, just not very probable. I think a few of my rolls were under his armor, or just at, even at POW 16 (dice off 5… oof). This is where weapon master would have helped. Those bane warriors sure look sweet now!

So, my bad… Madrak got stomped by one of the dwarf jacks and that was the end.
Conclusion
You can see the results on Isle of Games ‘June’ MK4 Prime Steamroller • Longshanks event 8972


Well, my sample size is small, but I feel like there were opportunities for winning in the armies I faced. With the slow and armored armies, it might be fine to cluster up and prepare for a few guns, only to charge in like the old days. Against fast armies, you’ve got to be prepared to take on an alpha melee wave, and let the fennblades, or whoever makes up your front line, die. I think another set of screening models might help Madrak. You definitely want to score charges, because that’s where the damage is dealt. Maybe the scattergunners, highwaymen, or even scouts can screen up front. Eight bodies at eight points aren’t a bad deal.
I do think I need to add a Mauler, and I’d like to try to build a list with primarily warbeasts to see if I can replicate the heavy, tanky armies that I often see. It’s kind of weird, the direction Trollbloods moved in Mk4, meaning that they’ve shed some of their famed “tough to kill” capability for extra defense in some cases, but I guess that’s okay. I’ll cover some of the changes, and what I think about them in a later post. Until then, may your dice roll box cars higher than probability predicts.