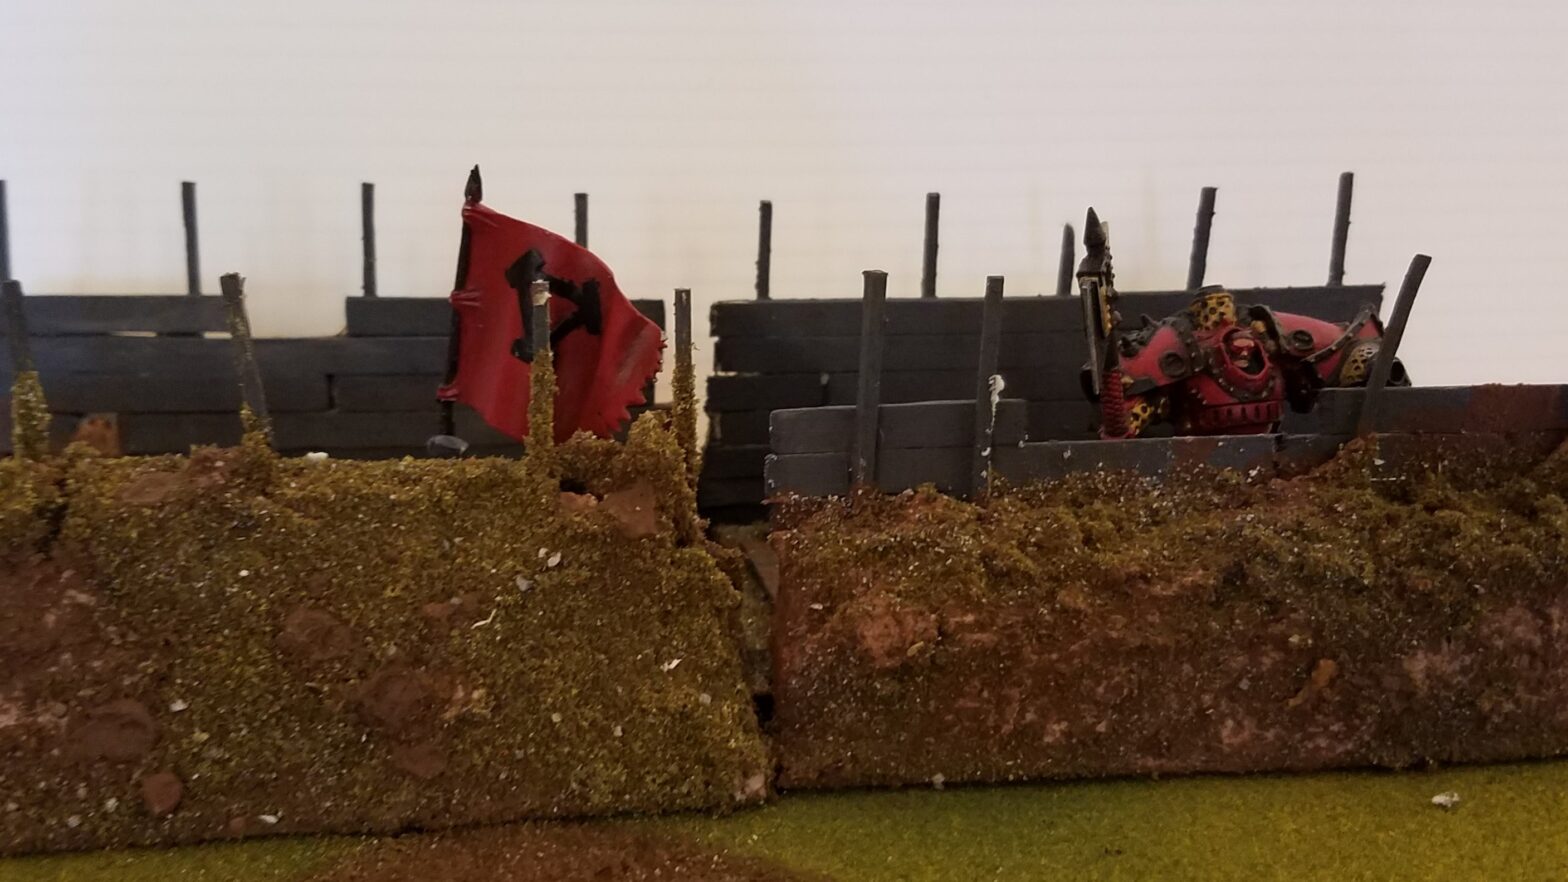
Trench Time
A few years ago, I ran a tournament where I decided we needed some extra terrain. Trenches were something we were short of, so made a ton of them.
Materials
- MDF or Plywood, cut into 3-inch by 5-inch rectangles
- Popsicle or craft sticks
- Spackle
- Flocking
The process
This project was a ton of fun. I did a lot of reading and looking at pictures online about actual trenches, figured out what would look good on a Warmachine table, and did some test runs.
First step was to cut up a bunch of sticks. I took the easy way and just snapped them with pliers, dropping them all in a pop-tart box.
The bases were easy enough. Dark paint with a mix of glue, then a dash of green flock mixed with gravel flock.
I opted for four types of trench, one where gravel lined the edges, others with the boards parallel, others where the boards are perpendicular, and a couple extras where the boards are scattered, as though primitive or damaged, or there was a limit to supplies.
The boards were painted with watered down black paint.
Trenches need walls?
I’m not super sold on the right way to do walls for trenches, or even if they need walls. They look good in some photos, but always get thrown aside during the game. They too often get mistaken for actual walls, and if they’re built too tall, fall down. After a few years of playing with these, they have turned most of them into just plain walls.
Test fit
I started by building a simple wooden fence, then spackle filled in for earth.

Wooden frames 
Test fit with Trollbloods 
A finished prototype 
Test fit looks good 
More with paint 
Ready for spackle 
Spackle
The spackle got a glob of glue smeared on it, then dipped in a gravel/dirt/grass mix.
Kick butt, I think…
I dig how the trenches look with the Khador, especially with the mud pit in front.


