Stone buildings still pose a challenge for me. How to get the size of the stone bricks right, what colors to use, what details to add, what methods to use aren’t as easy as it would seem. Firstly, the world I’m building for doesn’t exist. It’s a setting of which I have few pictures. It exists in the mind’s eye, the imagination, and breaks all sorts of normal rules for construction. There are some analogues to be sure, but how do you make miniature building work for Warmachine?
You build some test buildings.
Test 1
The first building started as a Pringle’s can brick tower. It was awful. The brick was thin, and warped and bent when I primed it with the rattle can. I also couldn’t find a way to make a roof removable and have it work for the tower. It also fell down during play.

Copper top 
Small models look good. 
Door for light warjack. 
Blemishes make good candidates for copper corrosion.


Painting went a little awry. The brown was a lot darker than intended. And although I like the red, the dark tower looks a little odd to me. The differences in brick work, on the tower, or on the base (top and bottom are different sizes) The door is probably the best part of the whole structure.


What did I learn? Consistency in brick work looks better. Even in ancient buildings, the brick work was very well done. Spraying foam is dangerous, because it can melt. Cutting corrugated plastic takes time and a sharp knife. Rushing it makes uneven cuts, and a dull knife makes it dangerous.
Second Building
This one took the lessons from the first building, with a new door, some signage, and a roof experiment. I also played with double rivet patterns vs single, and decided the single pattern looks best. The door handle is a simple loop of wire.


The building needed a roof. I planned on doing a sloped roof with a window, but lost the window piece between builds. I also thought I was going to do something with the top piece, to make up for the inset walls, but failed to remember what that was between my hobby days.


The roof was corrugated plastic, cut to fit. I made an awful looking error with the top floor brickwork. It’s too small, and looks like a weird afterthought.


Third Building
I wanted to try lighting something up. I learned that an interior plan is essential, for the battery pack and wiring to remain secure when handling. In the pics below, the blue circle highlights the battery support. Mine was a poorly planned afterthought, so I’m not showing it. It’s a bad example. This was also an experiment in wall construction. I trimmed the wall with a hot wire cutter after forming it, resulting in some really flat pieces, and some odd channels (red circle).


Next, I worked on trim and gave it a quick prime and wash. Yes, the corners of the building are recycled packaging components (usually cardstock).


I also decided to see what it would look like in different colors, so one of the walls got a red coat of paint, while the rest of them got grey.


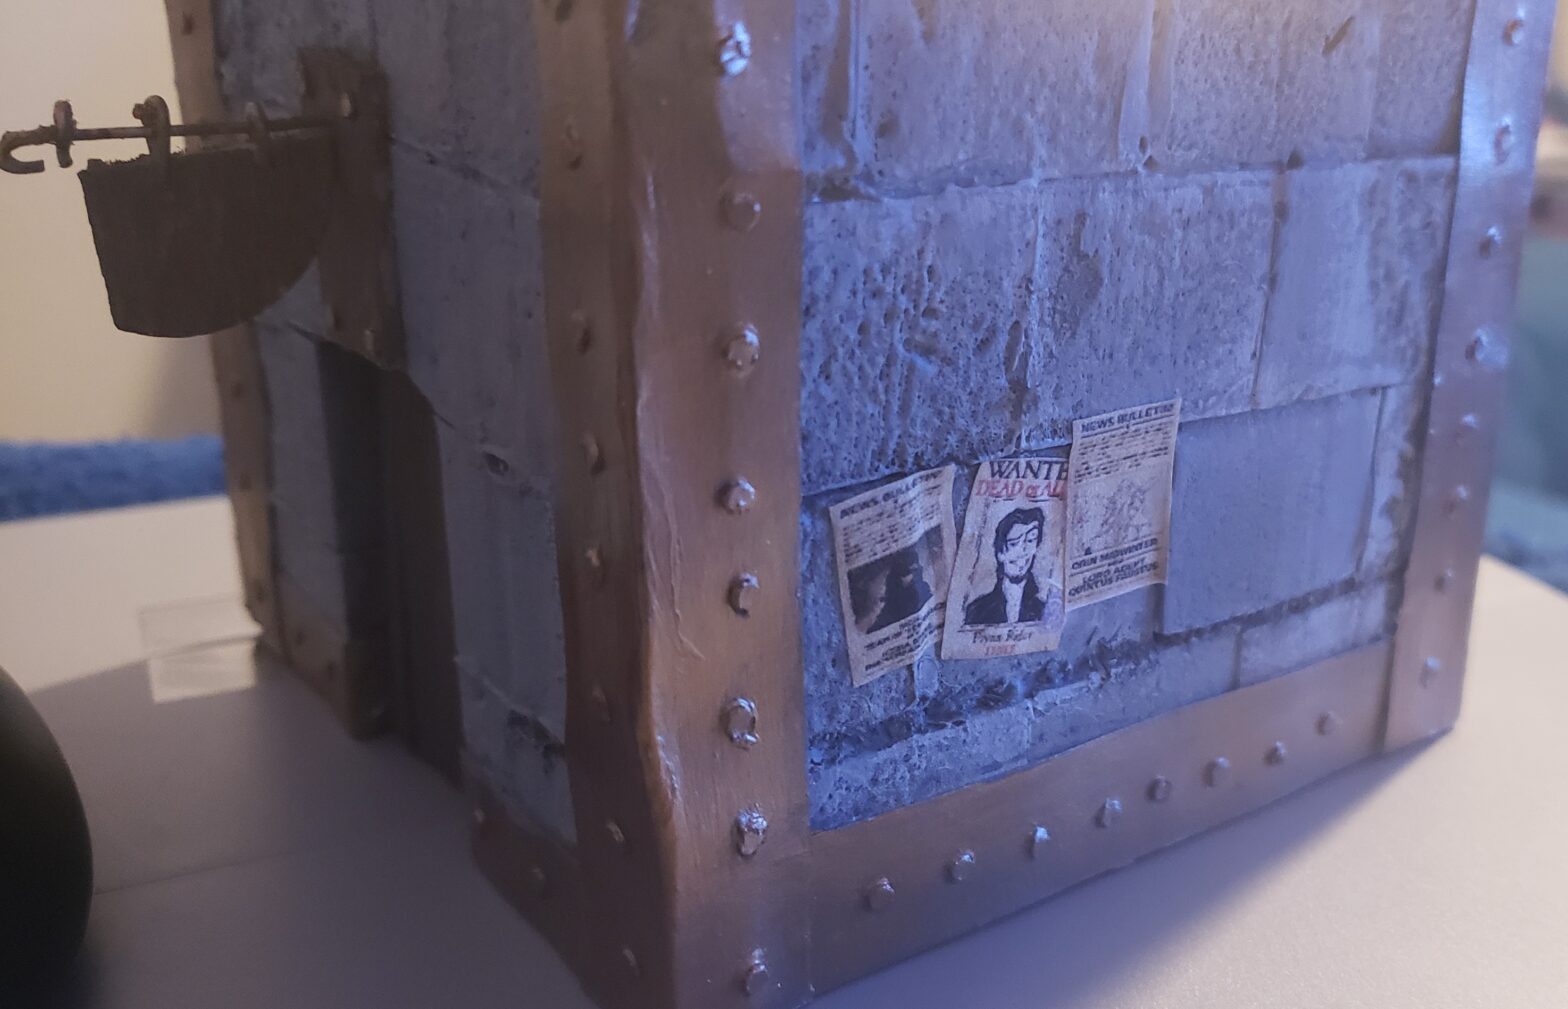
Finally, I printed out some wanted posters and made some recruiting posters to see how it would look. I borrowed game art for the posters. The wanted posters are mostly the ones from Oblivion, and the recruiting posters use some really awesome Privateer Press artwork.


I am in love with the posters and not sold on the brickwork. Next time, I will set up the wire cutter for specific dimensions, and cut tons of brick to size.