Conversion
I didn’t like how the pyg tanks looked.I felt they could be a little beefier. The little pygs seemed like they could barely fit inside that little tank body. Then again, some of the early WWI and WWII variants didn’t look that roomy either. Still, my tanks demanded some upgrades.
Step 1 was figuring out the body. Making something look formidable without having too much overhang on a 50mm base is challenging. I pulled some wheels from a model kit, and measured out to see where the tank treads would land if I spaced them out. This gave the body a general form.
I cut some treads from acrylic using the Glow Forge, and sliced up some wheels too. Extra bits from a couple Centurion/Aevenger kits made some gnarly bumpers. Other bits fleshed out each tank, giving them their own little quirk.
Priming
I couldn’t use my go-to primer. The rattle can would destroy the foam unless I pre-sealed it with modge podge or something similar, and I had none of that at the house. With Covid-19 still running its course, and not wanting to venture out, I decided to spray with the airbrush. The only primer I had on hand was Vallejo black primer. So the models all received a nice even coat.
Painting


The first tank got a yellow paint job. The yellow took a few coats through the airbrush before it really started to show its deep hue. Gunmetal Gray for most of the machinery, some pink on the cloth and bag threads, and leather for the bags. A darker brown was used for the wood.
The next guy got a coat of red. I figured the character solo, Ledfoot & Tredz, should get the fastest color. They also have some really cool looking spikes or tusks on the front of their tank to signify that they have auto-knockdown.
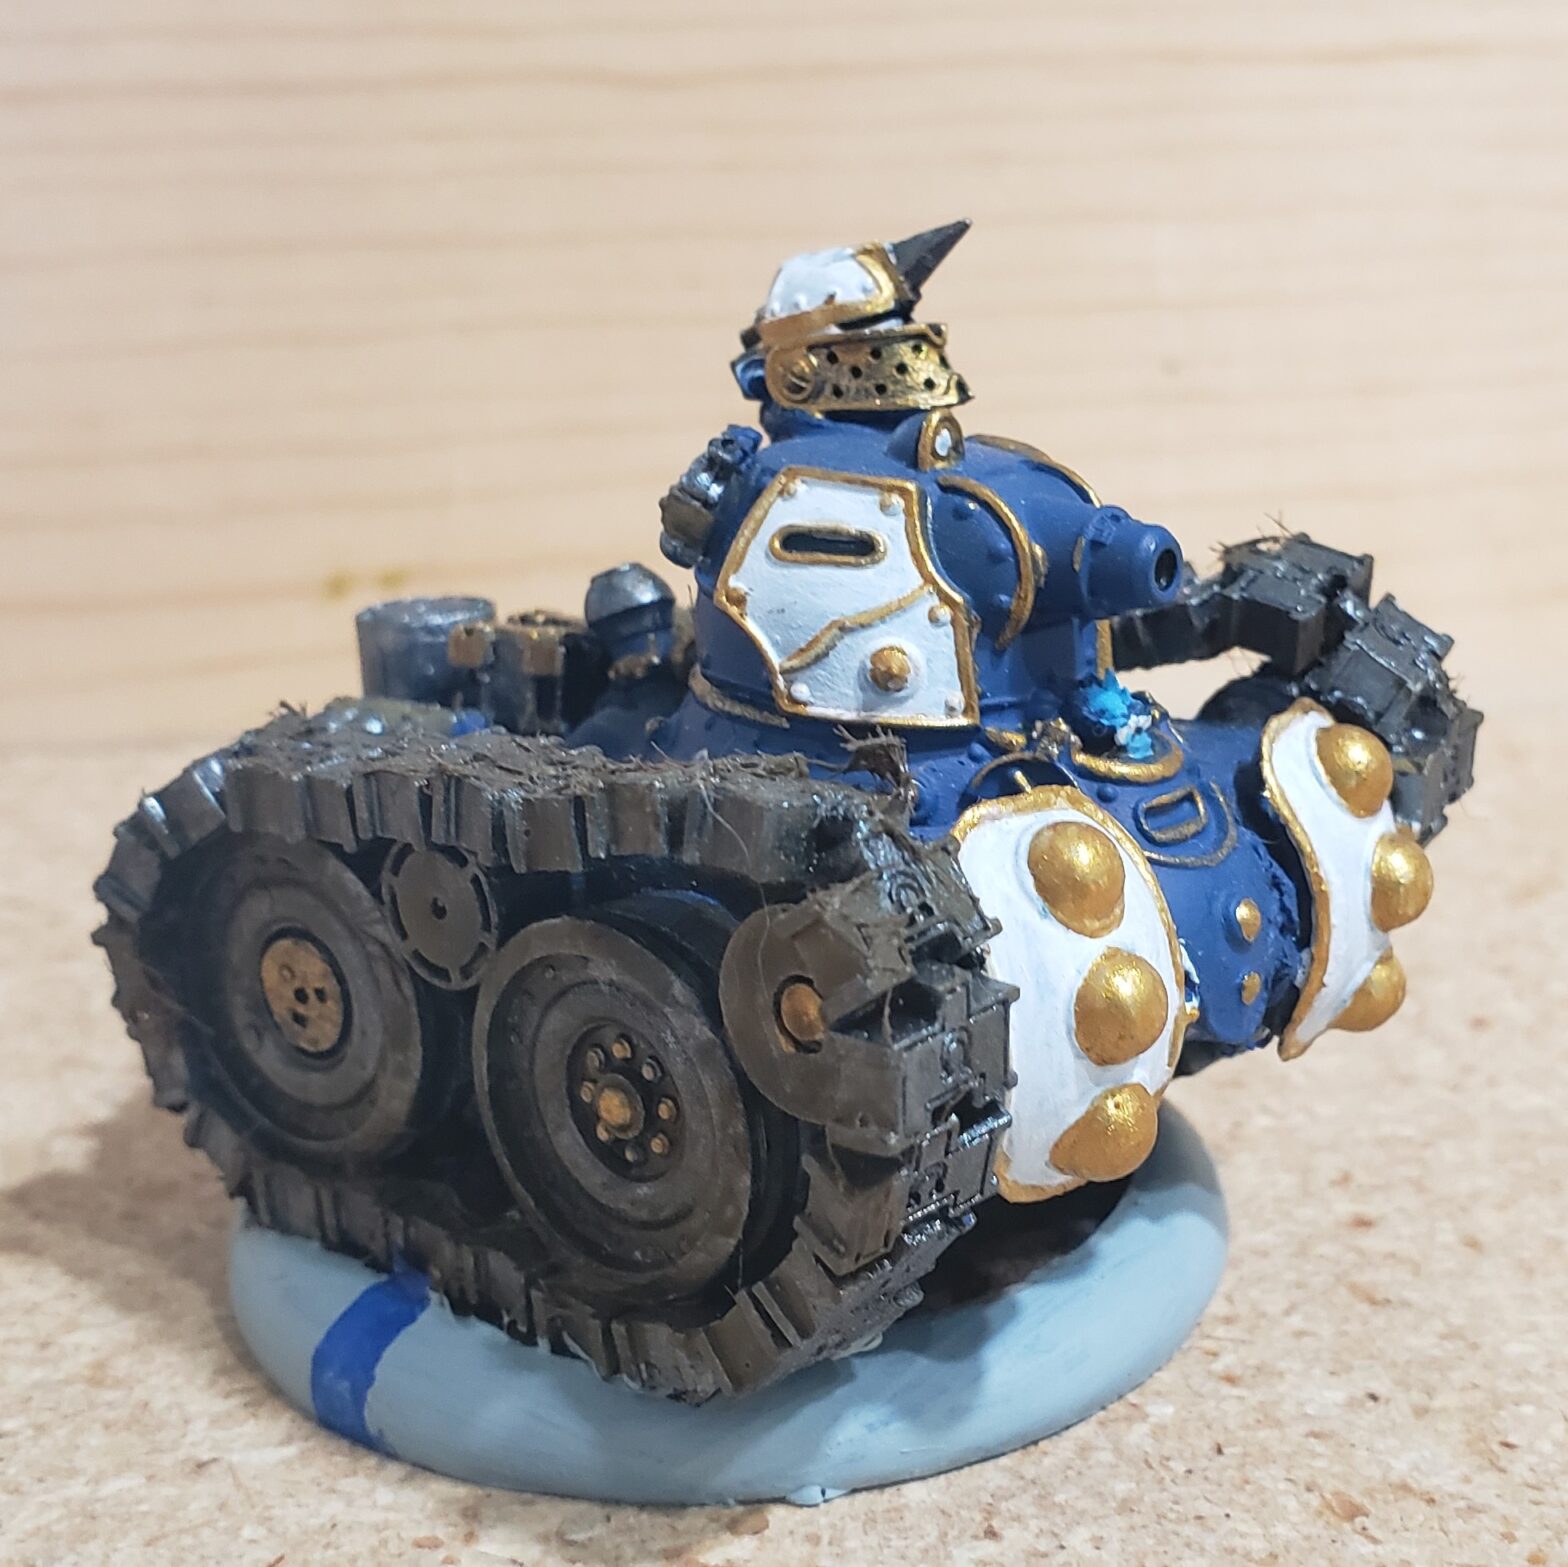
The final tank got a blue and white color scheme. The hatch went missing, so I substituted with a warjack head that had a hole blown through it. I figured that the pygs who ran off with this tank got lucky and managed to plug a warjack, then gutted the head to use as a cover, seeing as how theirs was damaged during the fight.


Something I find interesting is how the mud and grass blended into the tank treads.
Final thoughts
I went a little crazy with upsizing, and I inevitably will have overhang issues. I think I accomplished one of my goals, which was to keep the rounded cute tank aesthetic, while adding some beef. This was a good project to stretch my skills as a hobbyist.