Woodland Scenics makes a whole plethora of terrain materials. One product I’ve grown to rely on is the fine, blended, and course turf that comes in shakers. I’ve been using a mix of the green and blended turfs for a few years now, and also use their snow powder on top of grass turf. I prefer the Vallejo snow paste over the powder in some applications, but for today’s basing, the powder will work well.
Quick and Dirty Method
Simply put, mix the turf blend, earth, and grass in a container. Put glue on the model base. Dip model into the container, ensuring the turf covers the glue, and pull the model out. Done.
I prefer this method on small models, used for wargaming. Larger models, or showcase pieces might get a different treatment with more of a meticulous scattering of turf. The quick and dirty method works for massive armies, because it is quick, and effective due to the size and multitude of models. There isn’t usually a lot of room to convey a hill, slope, or terrain element that would change the type of grass or earth on the base. Let’s look at this in more detail.
Supplies
I’m using a storage container today, but any wide-mouthed container would work. One with a screw-on top is probably more suitable to keep the turf from escaping if the container falls. I use three of the turfs offered, mixed in a way that appeals to me.
- Woodland Scenics Turfs
- Aleene’s Tacky Glue
- Hot glue gun and hot glue (optional,)
- Cup of water
- Old paintbrush
How to
1. Mix up the turf
Mix the turf in a container, using the old paintbrush’s handle to stir it all around. Add in left-over bush flocking cut into small bits, broken weaponry, plastic bits (painted), wooden bits, cork. The bits add interesting elements to the basing by giving it something that looks either buried, or embedded, in the normally flat surface.

The turf mix, from the outside. 
Looking inside the turf container, from the top.

2. Cover up the gaps, slots, holes in the base (if applicable)
Some bases, like the Privateer Press 30mm and 40mm bases have slots in them to help support the model. A lot of the models don’t completely fill the slot, and if glue is poured onto the base, it will fall through the gap and leak all over the table. Hot glue can fill in the gap. Just make sure the heating element doesn’t come too close to the super glue, because it tends to release toxic fumes when melted.

Slotted base 
Filling with glue 
Too much glue 
Wipe with stick 
Smeared on paintbrush


It’s possible to get too much glue in the slot. Simply wipe off with a stick while the glue is warm. Just make sure enough glue gets into the slot to fill it. You don’t want a weird dip in the middle of your model’s base.
3. Add glue to the base
Add a drop of glue to the front and back of the model’s base. Dip the brush in water, shake it off, and smear the glue around with the brush. I really like the Tacky Glue here, because it is really thick and (as advertised) tacky. The water on the brush is just to keep it from sticking too much to the hairs,

Drop in some glue 
Smooth it out with a wet brush


4. Dip!
Make sure to cover the whole base with the turf, then turn the model sideways and tap the bottom to release any free, unglued turf. If large chunks of cork, rock, or other interest elements look out of place, move them to a better location or remove them completely.

Glue inside the base lip 
Dip the model in 
Brush off excess turf 


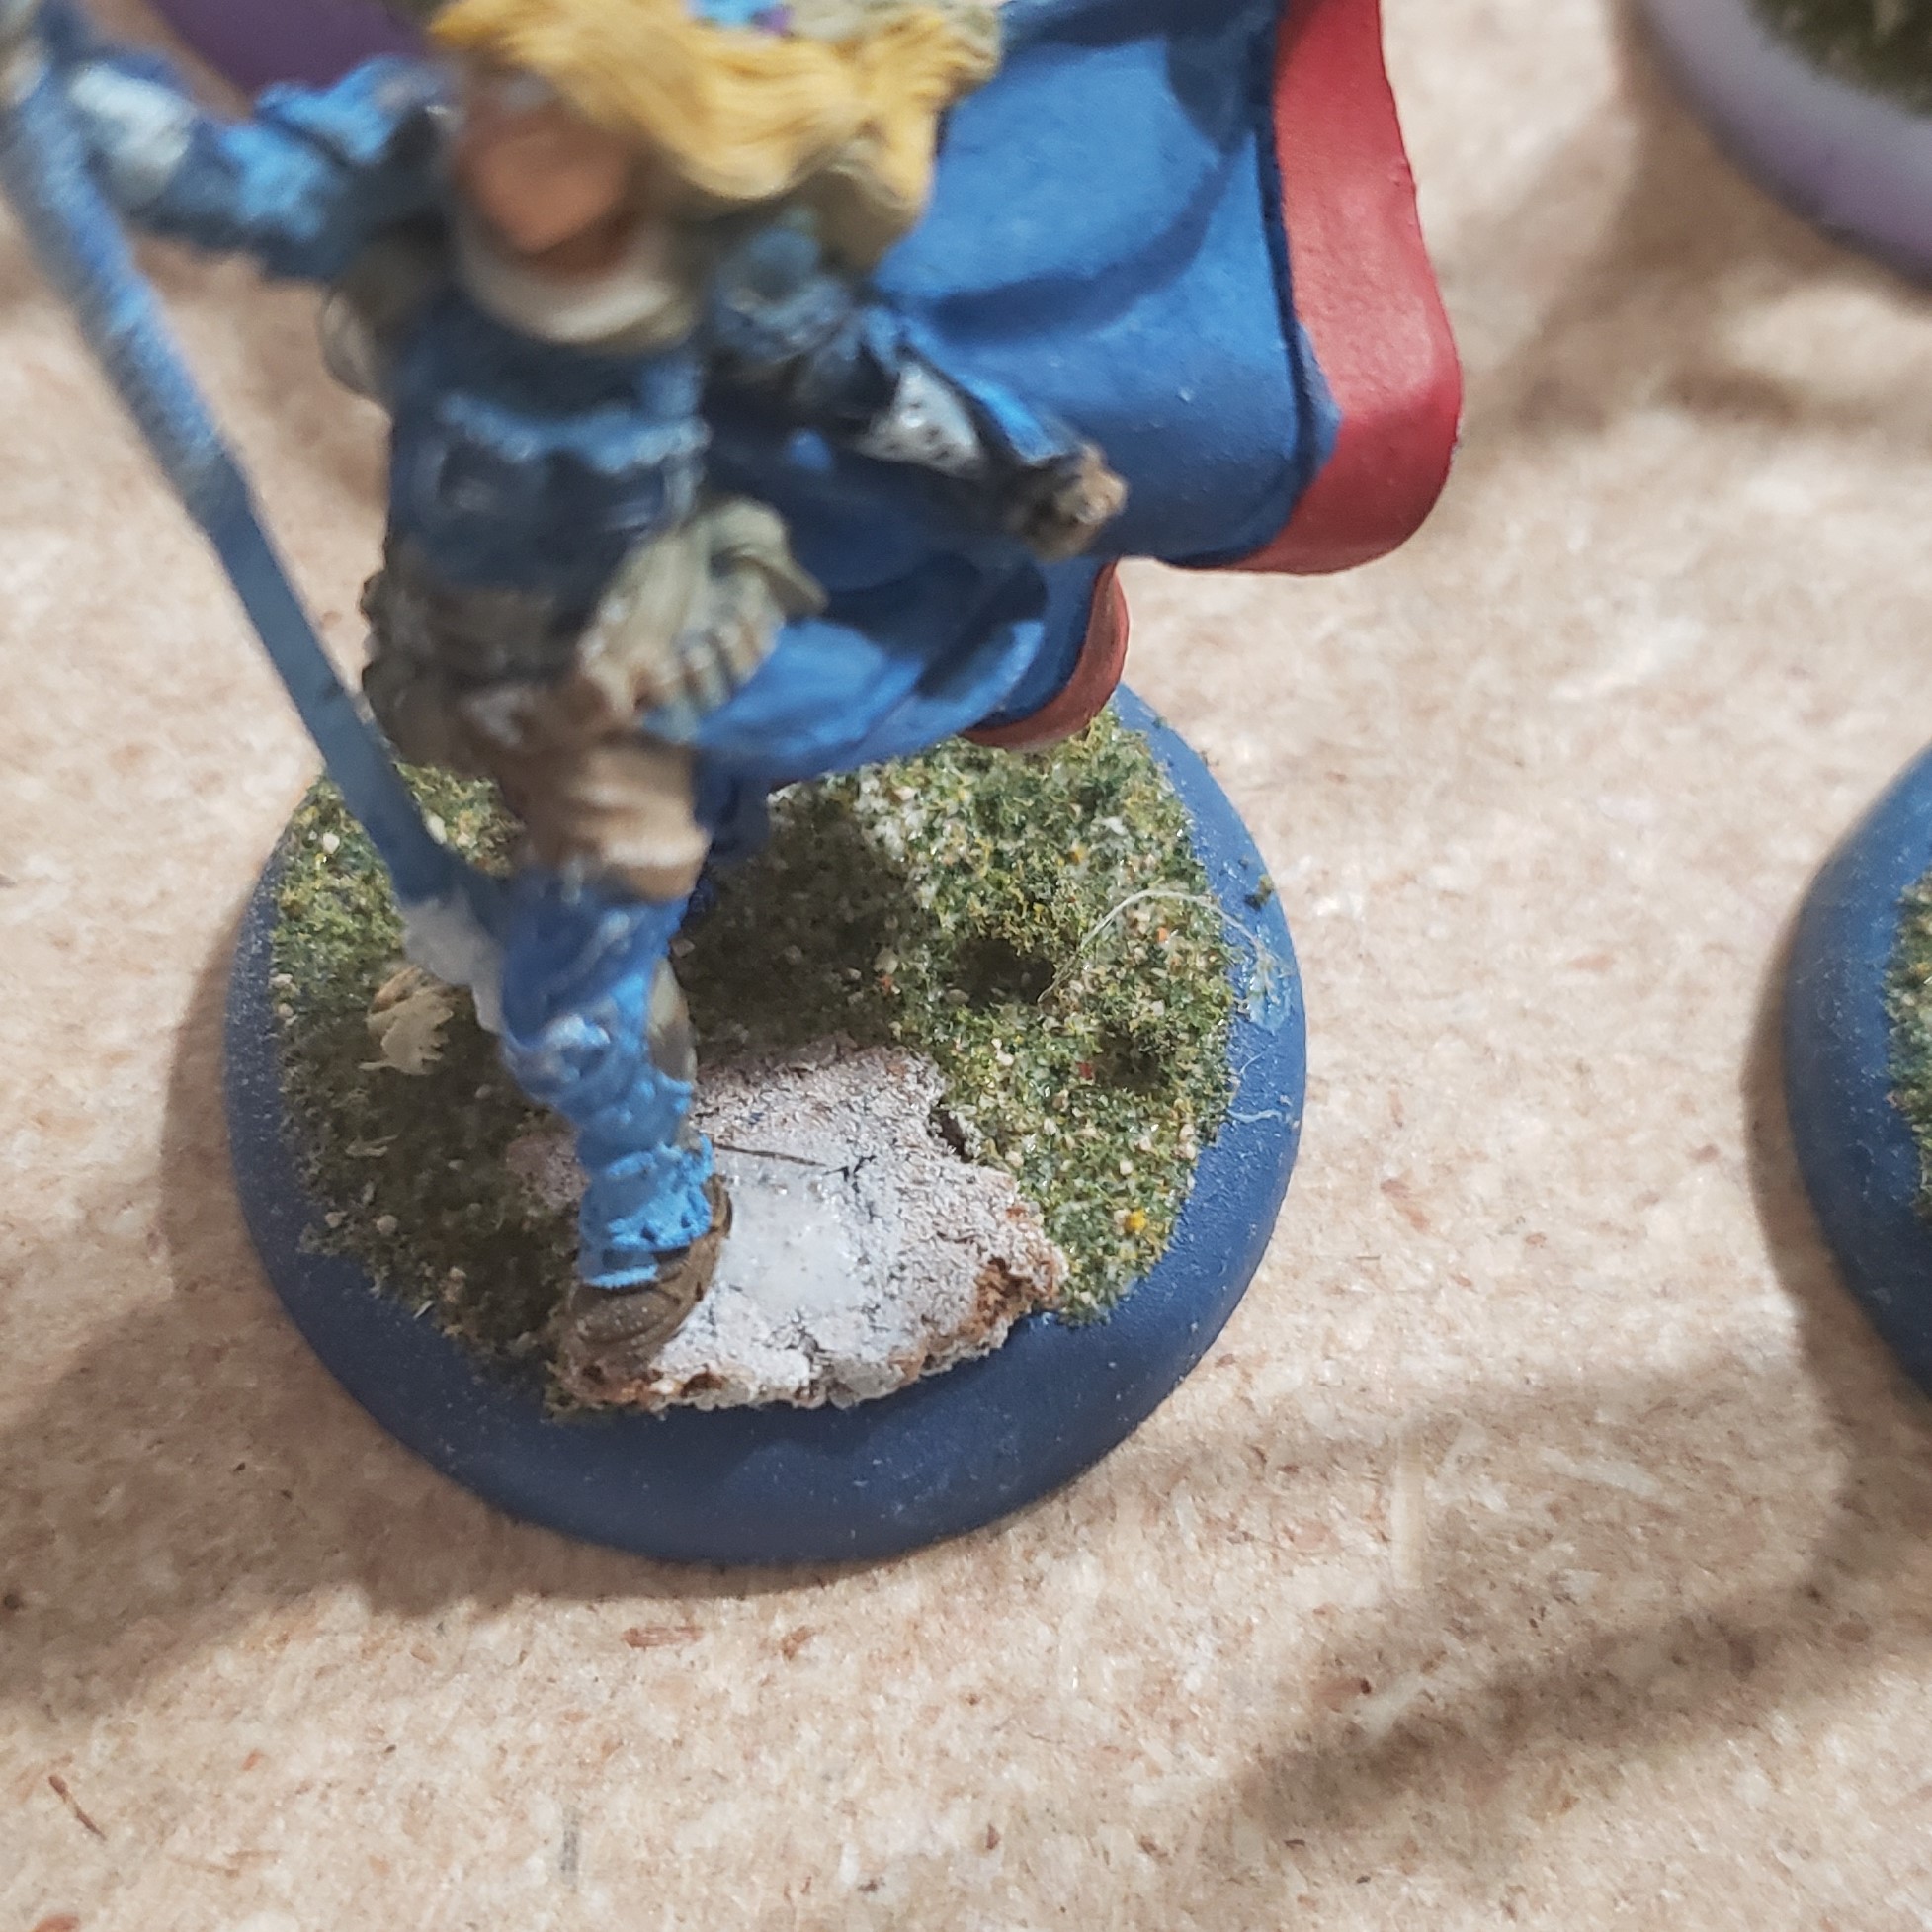
What about snow?
After letting the grass dry, at least for an hour, apply some more glue. If the area is hard to reach with the bottle’s nozzle, try using a brush. Next, scoop some snow powder, then drop it onto the glue. Tip the model over and tap the bottom to release any powder not caught by the glue.

Try putting the glue on the brush to apply 
Brush on glue 
Sprinkle on snow 
Doesn’t have to be completely covered 


Final thoughts
I like how quick this method is. You can rapidly base ten, twenty, or thirty models at a time. The little chunks are interesting, and if you sneak actual weapons, treasures, and such into the material, your turf will have little hidden gems to discover.


