The Privateer Press Crucible Guard Vulcan actually looks cool. I have nothing against the sculpt. The whole thing with it being a train, but an off-road train, like those old steam tractors. They’re pretty cool, and they fit the whole theme of the Warmachine universe. Here’s a picture of what one should look like:

Why convert, and what’s the plan?
I have two reasons to convert this model.
- I started assembly before moving, and I lost some pieces.
- I’ve wanted a half-tank/half-robot for a while.
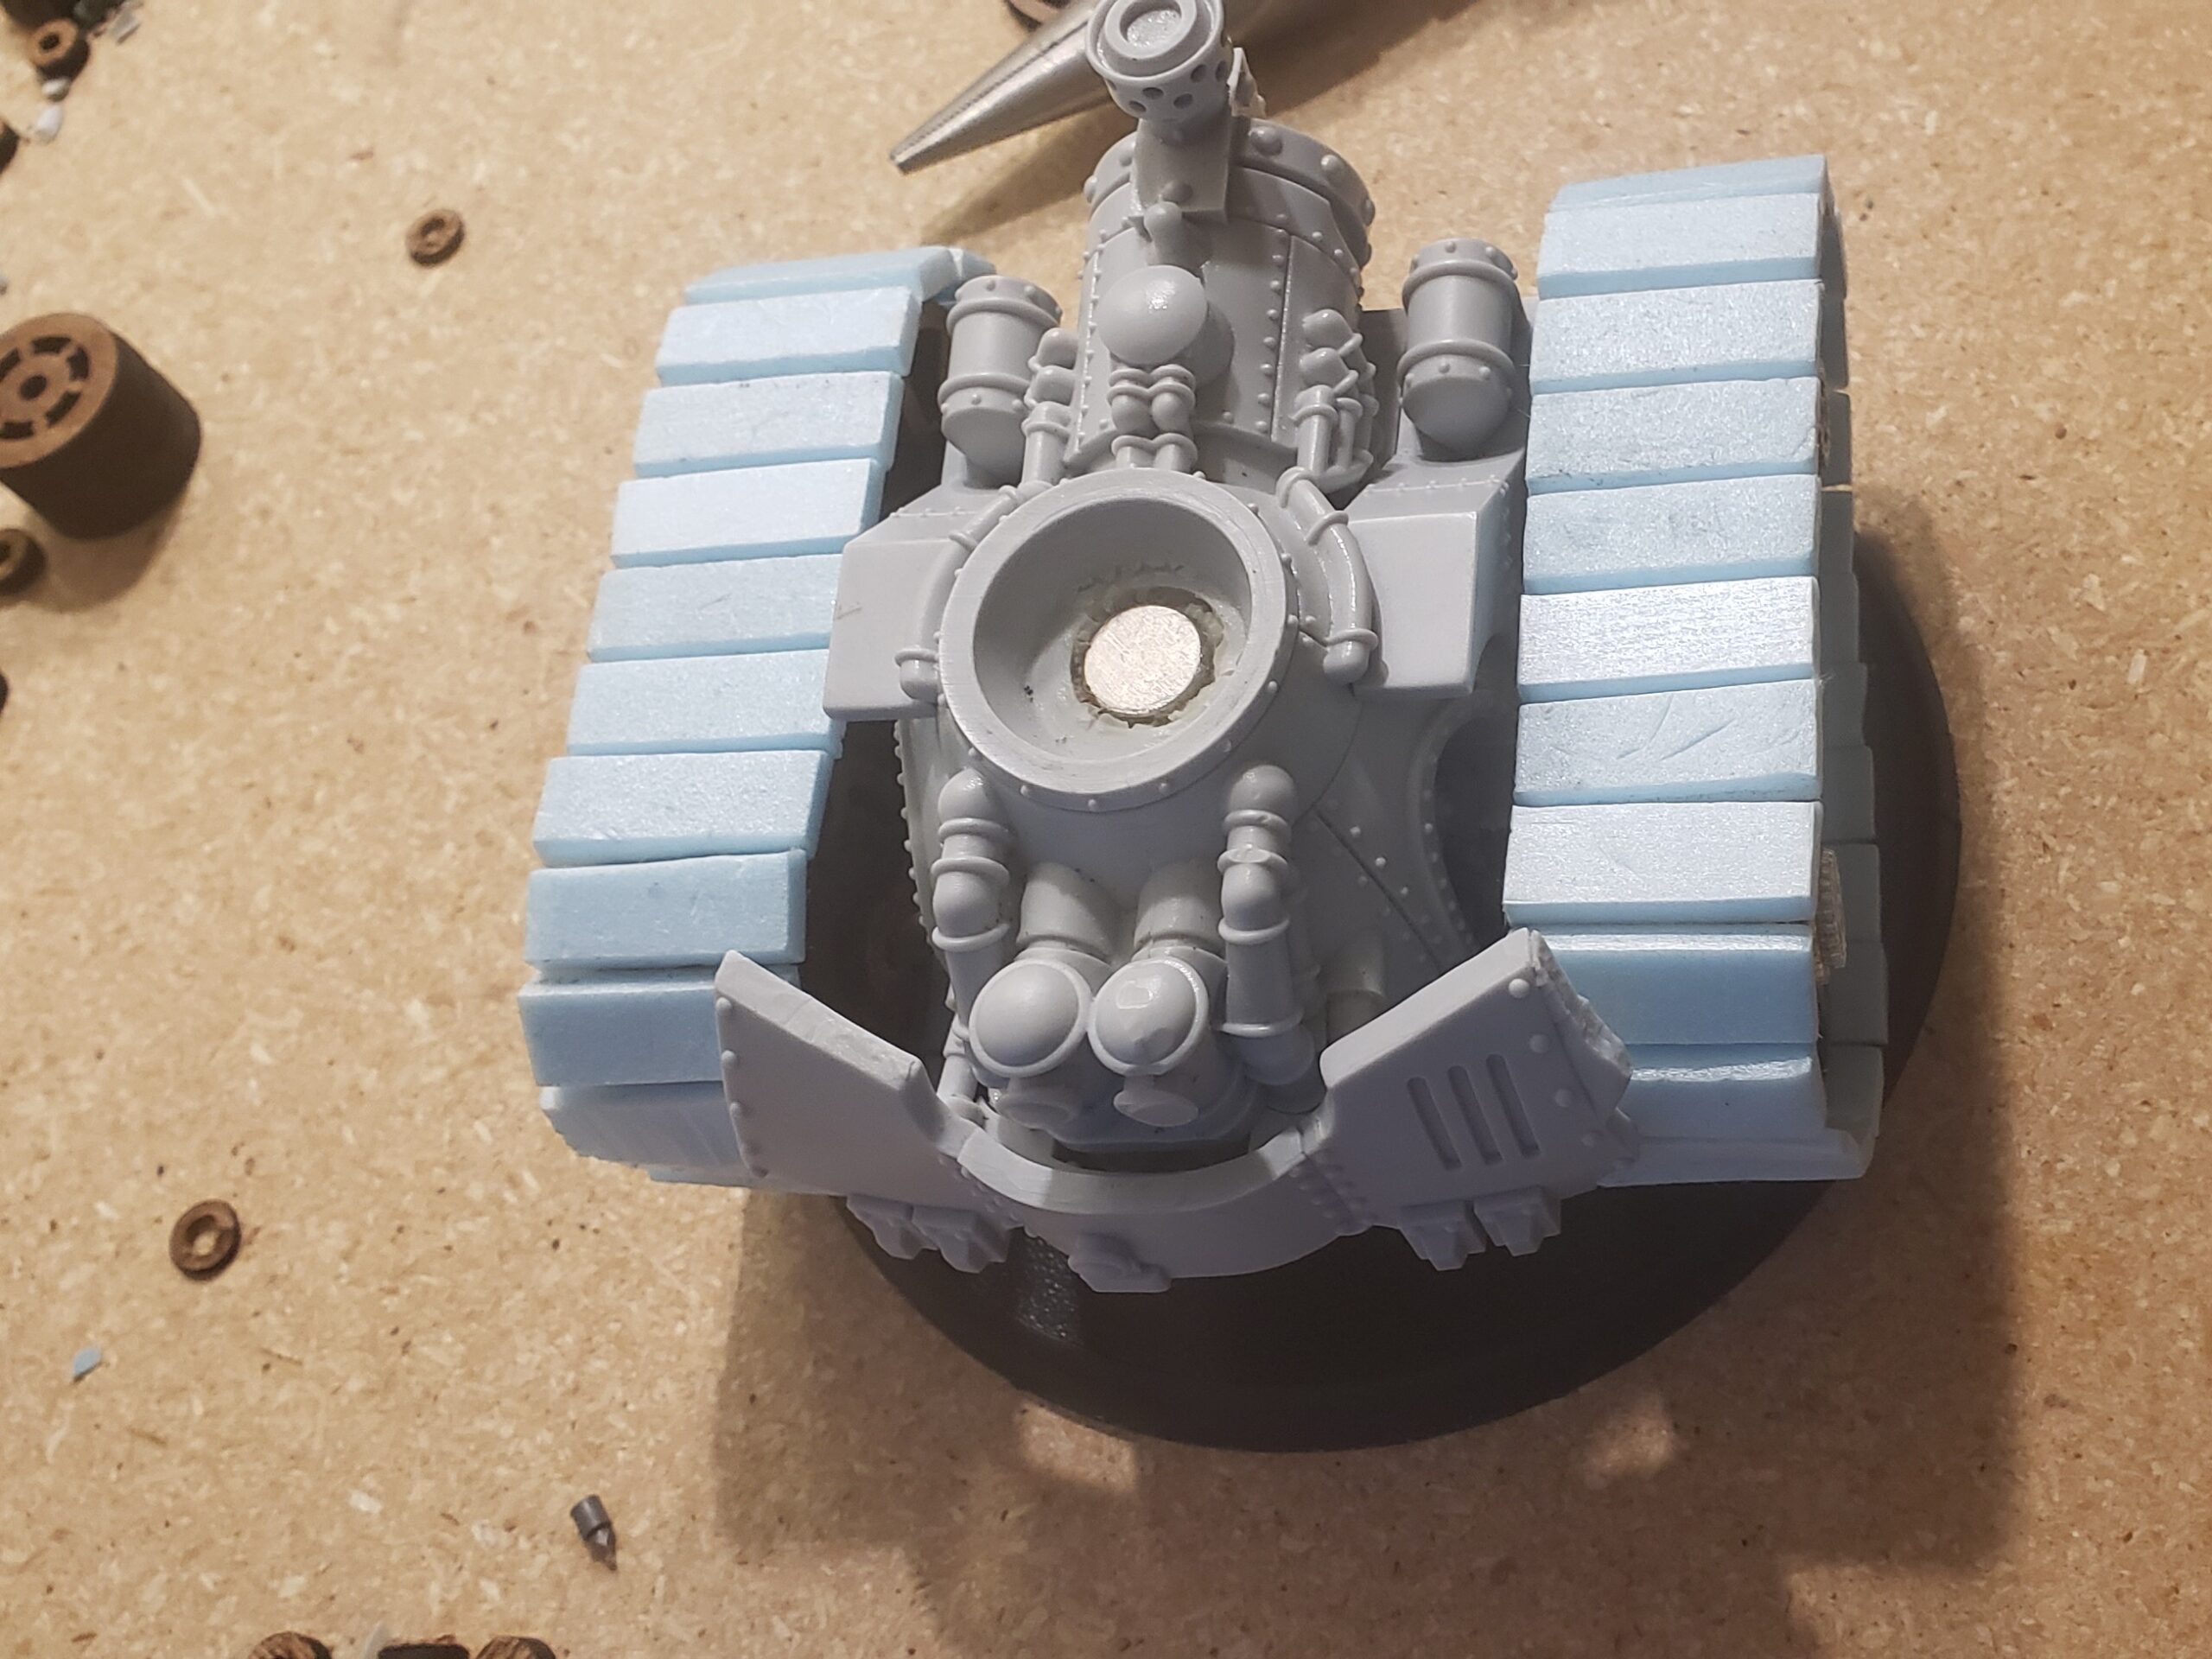
The challenge of doing a tank tread for this colossal excites me, and the end result should be cool. Having unique versions of Warmachine models tends to generate interest in the game, because a conversion done well just looks awesome on the table. The plan is to cut the treads from foam, and wheels from wood. The wheels would have to be attached to the base and to the bottom structure of the model somehow.
Starting with the treads
Cutting the treads from foam had me a little worried. I wasn’t sure if I could get the foam to cut in a regular pattern. I cut a block into thin strips, then set the cutter at an angle. I fed the strip through the cutter against a fence to keep everything straight.


Deciding how to size the wheels
The wheels are made of a draft board, or masonite, or manufactured board. Locally, it all seems to run under different names. Before I cut with the Glowforge laser, I want to make sure it will look right. It’s easy enough to etch the design into a piece of cardstock, on low power and fast speed.
Afterward, I cut the paper with scissors, and hold it to the model to see how it fits.

I think the large wheel looks a little excessive, and very reminiscent of the original design. Instead, I’ll use two sets of the rear wheel, with spokes and a hub.
Cutting out the wheels
I have the Glowforge set up in a new room. Nearby, I have a desk for assembly and foam work, near the window. The forge runs through a very effective filter system, and the fan helps push foam fumes outside. Like heavy glues, burning foam and other materials should be done with respect to the dangers of breathing in those materials. Filter, or vent, or both.


Gluing up the wheels
I used wood glue for building up the wheels. A Dremel EZ Lock shaft is the perfect size for aligning the center of the wheels, so I can stack and glue them together. The ones with spokes go on the outside, but I also have a set on the inside. That way, if there’s any part of the wheel visible from looking across the model, it will have some detail rather than just be a block of draft board. While the wheels dry, the model chassis gets glued up, and is being held together with rubber bands until the super glue dries.

Tread supports
Rubber bands, cut in half lengthwise, support the foam treads. I used a pair of scissors to cut the rubber band, but probably could have used a knife. I toyed with wire at first, but couldn’t get it to lay correctly, or to blend in with the model. If I had cut grooves into the inner portions of the wheel, then maybe wire would have worked. I think the rubber bands actually work best, because I know tacky craft glue will hold the foam to the rubber bands.

Hubs
To keep the general aesthetic of Warmachine, the hubs are crafted from several decorative gears. I bought a bag of “steampunk jewelry” off Amazon, and it’s starting to pay off. I had to find gears that had multiple copies. They’re different colors, but they’ll be covered with primer and painted after the build. Stacking several gears creates an interesting pattern.


Axels
I originally intended to glue the wheels directly to the chassis. I realized the model might look strange with no gap between the wheel and the chassis. I decided to push out the wheels and build some shocks out of some other military model pieces.
A small aluminum rod made a quick axel. I couldn’t find my cutter, but the ends didn’t have to be pretty with this project. The diagonal cutter worked well enough. Holes drilled into the model’s chassis provided a secure attachment point. The axels slipped through easily enough, and they supported the frame and wheels.


Gluing up the treads on each track
The wood glue made a strong bond between the foam and the treads. The arms have just enough clearance. At the end of the day, I was satisfied with my work, but the uneven tread on the front end bothered me a little.


This is only part 1.
Part 2 will show cleanup, basing, and painting base colors. My hope is to get Dessa to do the final painting, and she can walk through her process.
Until then, take care and good luck.