The colossal warjacks in Privateer Press’s Warmachine game look amazing. With very low effort, the Judicator can be painted up and table ready, yet still bring an outstanding centerpiece to your Protectorate army.
Somebody on facebook asked the WMH painting group when they’d do the next huge based model challenge, and I said I would paint a Judicator, and he should paint his model for July.
Primed
Spray primer in Arizona works very well. The air is dry, and the warm weather means almost any season is spray primer season. I use off the shelf hardware store general purpose primers. Black from the bottom, and white or grey from the top.


Clean up
After priming, especially if using a light colored drybrush to make details pop out, flash and build errors tend to surface. I usually clean these up with a hobby knife, but there weren’t any that I could see. However, I couldn’t handle the big wads of plastic in the Judicator’s fists.


A 1/4-inch and 7/32-inch drill bit followed by some knife work cleaned those hands up nicely. Also, why put vents on the shield armor? Whatever the reason, it felt weird to try to fill in the vents with paint. Instead, I cut them out with a drill after punching the plastic to avoid drilling outside of the vent lines.


Note, the arms are no longer on the model. The torque of the drill snapped them off. My advice… do this operation before gluing the arms onto the model.
Mechanical Bits
I’m a little ahead of myself. Before drilling the hand gaps, I started painting mechanical bits with a mix of Vallejo Gunmetal Grey (70.863) and US Grey (71.047). The US Grey is a Model Air color, which really helps thin out the Gunmetal Grey, and kind of acts as an extender in the sense of making the paint last longer. All of the moveable bits in the knuckles, joints, and so on, are painted with this mix.
Armor
The armor plating gets my favorite color for Menoth, Iraqi Sand (70.819). There is a little bit of bleed through of the darker primer that lends to a shadow. Normally, I blend with Buff for highlights, but didn’t have any available, so skipped that part.

Accents
For the raised surfaces, those accents behind the brass plating, I like Burnt Red (70.814), or a similar color to make the brass stand out. Since the red is under the brass, I don’t pay too close attention to whether it bleeds all over the filigree, or if I slop some on the Menofix (the cross).


Brass, Lines, and Basing
Pretty sure this was straight up Brass… or Old Gold. I’m not sure, because I didn’t take pictures of the paint bottle. The brass goes on easily enough, and then the US Grey with a little drop of black ink makes a dark enough color for filling in the panel lines (like the loading hatches on the top of the rocket launchers). I also added smearing to the exhaust ports and rocket launchers to show recent use.


A mix of sand and ballast painted with watered down brown craft will make a nice enough base when it dries. Some tufts were added later.
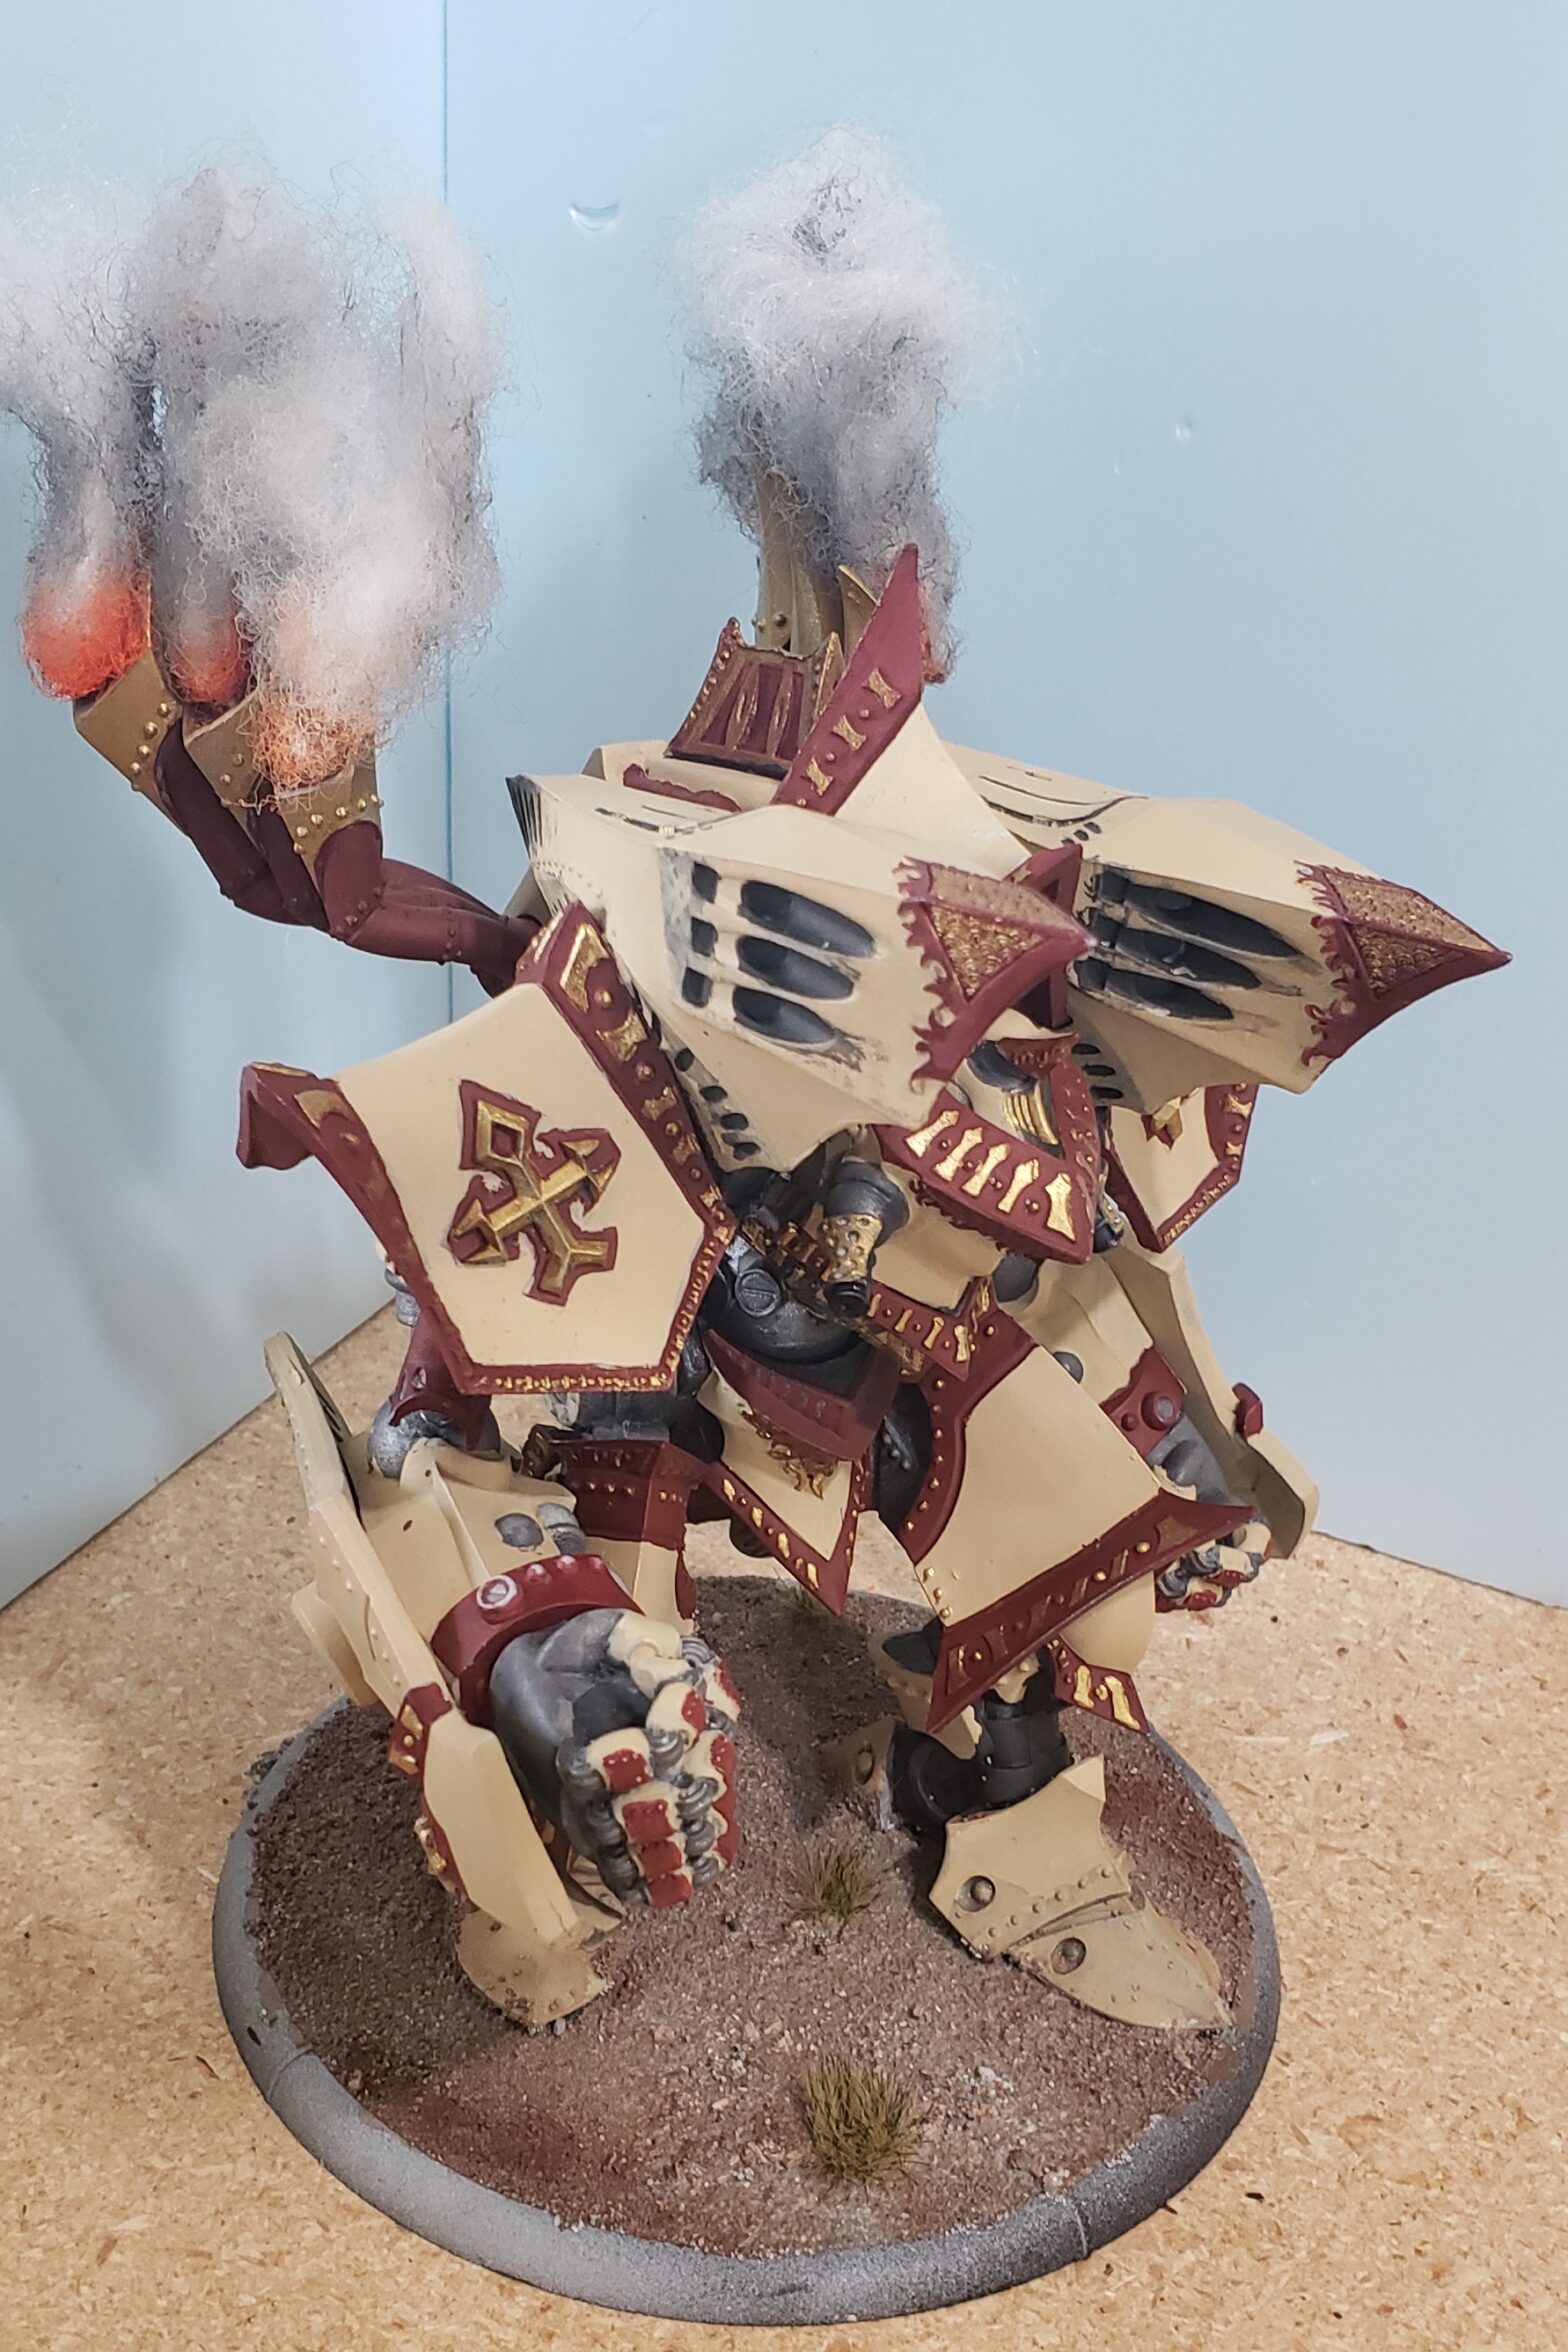
Where there is smoke…
The final steps involved taking some stringy cotton from one of those old Halloween spider web kits, making it stick better with some tack glue, and painting it up with some sooty greys, red and orange to resemble smoke pouring from the Judicator’s stacks. I toyed with having a rocket flying out from its launcher, but felt it wasn’t needed.


Final thoughts
I didn’t do too badly for a three day job. In the future, I might try the airbrush on a model this size, but the brush works just as well with these paints. The base is a little sparse, but doesn’t draw attention away from the rest of the model, so I am fine with that. Usually, my basing steals the show, and for this Judicator, I wanted all eyes on it.
I’m pretty proud of the smoke effect. I’m getting better at this, and might start adding it to all my warjacks. The Judicator made the effect easy, because of the location and style of its stacks.